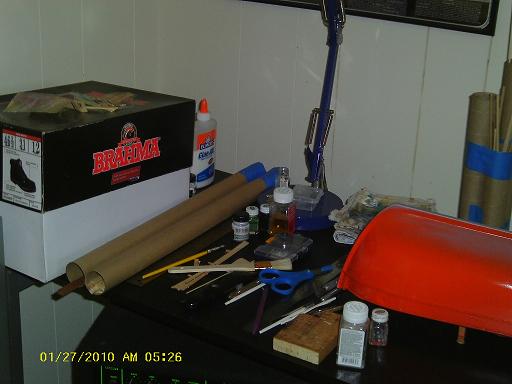
As we chatted, I sort of got into the beers, and by the time we ended the conversation, I had drank at least four beers. I cracked the fifth as I hung up the phone and found myself just sitting there, musing over it, while looking over the Cux. I pulled out the airbrush that Dan had sent me, an older "extra" that he had lying around. I had told him what a problem I had in painting the Nordkap with those "rattle cans" and that I had a Cambell Hausfeld 3 gallon compressor down in the cellar that I was trying to set up for airbrush. I don't know a whole lot about airbrushes, but the one he sent me requires a separate air line feed. I need to get a regulator and a shut off system for it, and a gauge as well, so i would know how much air pressure there was in the tank. I had also bought a "Testor's Amazing Air Camo kit" from the hobby store, thinking that there might be something that I could scrounge out of it. my wife was kinda blown away about how much i paid for it.....I didn't have the heart to tell her that there was nothing I could use and that I bought it for nothing. not having the parts for the compressor was a serious set-back, and I brought out the Testor's kit to look at it. taking out the airbrush part of it, after sliding out the inner tray, I began to get a thought.......why not paint the hull with this! it came with a can of "air".....so, why not. I started to screw the fitting onto the can, but for some reason, it wouldn't thread on. every time I tried and failed, I would pull it back off, causing air and liquid vapor to escape. it was some of the most vile smelling stuff I have ever smelled!
"Where did they get this air........from the back-end of a cow!", I thought to myself as I tried yet again. an uncomfortable gesture came from behind me, as my wife expressed her opinion about the smell that I was exhausting into her airspace. she was starting to get nauseous by it, so I decided that I would take it down to the cellar to put the fitting on. try as I might.....that darn thing would not screw on! I looked on the bench for some kind of aide, when my eyes trained onto a fitting. it was a fitting that I had brought home from work. I had it on an air chuck, used to blow dust and debris off of anything that I was working on there. on the end of the fitting was a 1 inch long piece of plastic tubing. I had brought it home.....in case I needed it in setting up the Cambell, for whatever reason. I had put a "T" block on the Cambell and a gauge......but the gauge didn't work. I reached over and attempted to thread it onto the "T" block.......it fit! the next thing I knew, I was cutting the fitting off of the airbrush hose. I pushed the hose over the plastic tubing.....it went on very tightly.
I guess i was lucky that the hose for the airbrush was rubber and this tube was plastic, it was able to stretch over it. I ran upstairs and got the paint and the rest of the stuff I would need. it required a smaller bottle to be snapped into place at the front of the airbrush, the kit supplied the special caps and the siphon tubes that fit into these caps. stirring the paint, I saw that it was thin enough, so I used it straight out of the bottle. I'm using "Model Masters International Orange".....it comes in 1/2 ounce bottles, too big to use with the kit, But I have a bunch of the small 1/4 ounce bottles. I would buy the thinners and dump them into the bigger bottles......you never know when you'd need to mix a special color {no cleaning them either}.
Through all the turmoil, I had emptied another beer and was cracking another. I was ready to go!


It at first had a slight "bumpy" appearance, but as it dried, the bumpiness started to disappear. I cleaned the cap and tube that fit onto the bottle.....that was all I needed to clean {as well as the bottle too}, and I brought all that stuff {except for the airbrush}back upstairs. the next trip brought the Cux up as well, to a warmer climate, and it was set upside-down on it's cradle. there it stayed overnight....to dry. the next day was met with an inspection on how I did......it looked great, with the exception of missing the top surface of the rub rails. there must have some dust and lint on the table, because a few specks {not many} was blown up and landed on the paint. later I went to the hobby store to spend {ended up being almost all of it}some of my Christmas money {gift cards}. I came back with some more orange paint {the only one they had}. I wiped it down with a smooth cloth, a torn-up old tee shirt, and brought it back down to the cellar, giving it another coat of paint.....right side-up, of course! it was later brought upstairs, where it spent another day and night upside-down on it's cradle. today is Friday, the 21st......the upper color of the Cux is now on and I'm very happy with the results! it's too bad though the pictures have a hard time showing how nice it looks. the paint is so shiny, that it not only bounces back any light thrown at it, but anything near it is sucked in and refracted like a prism! sizing down the pictures didn't do it any justice either.....this made the Cux look blotchy. but here they are.......I will send you the full size pictures Tom.......it's the only way!


I will send you some pictures I took with my wife's camera....I tried to re-size them, but they became all blotchy. Hope you can use them,............AHOY!